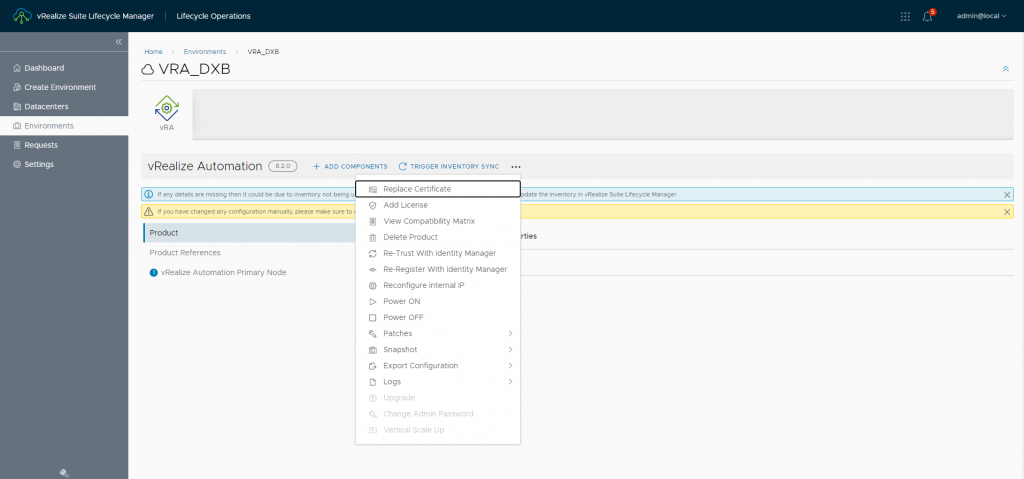
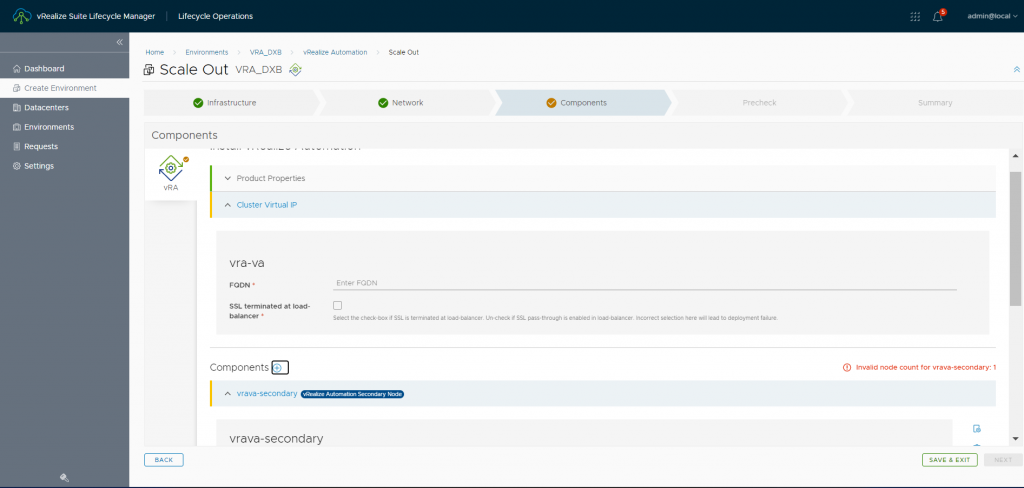
vRealize Automation can be deployed in a single node or in a three-nodes cluster, the best thing about vRLCM is depending on your requirements you can deploy either option.
Preparing prerequisites of deployment
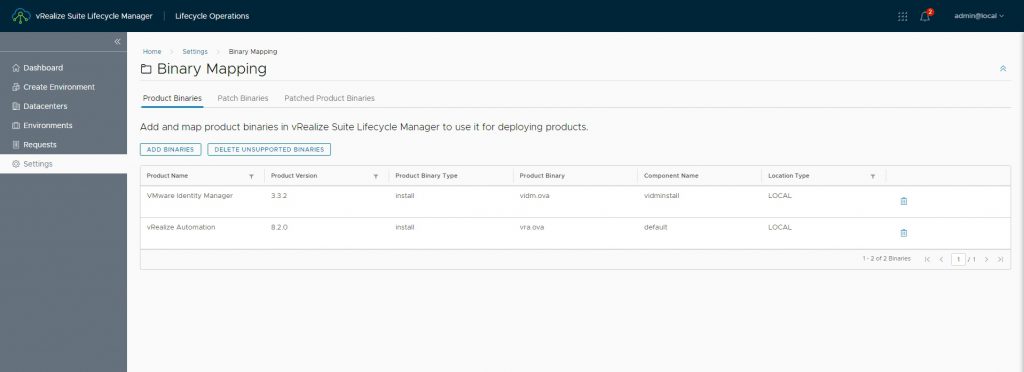
First, we create some prerequisites like Binaries, DNS, certificate, and user. luckily the binaries already copied inside vRLCM while the easy install wizard installation process
1- Check binaries in vRLCM
2- Create DNS record
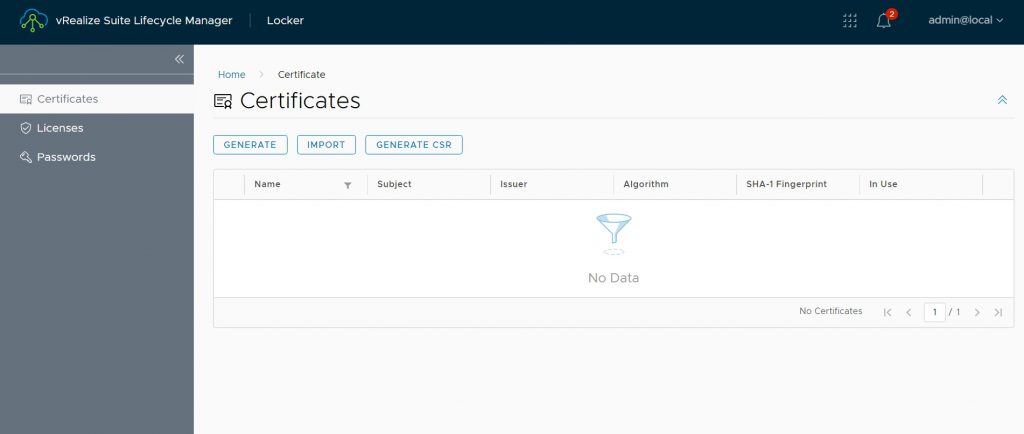
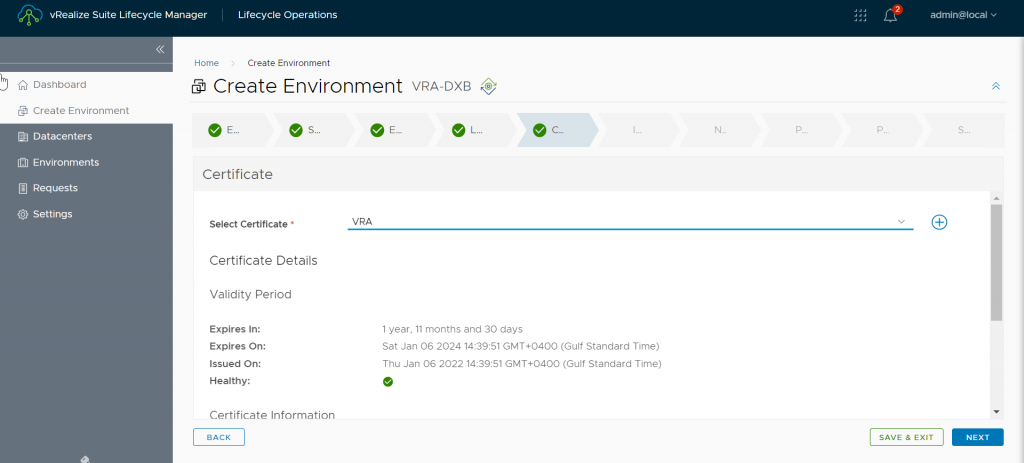
3- Create CSR and import vRA certificate
Next, we create vIDM certificate to use a certificate signed by your CA. to do so we need to shift to Locker service
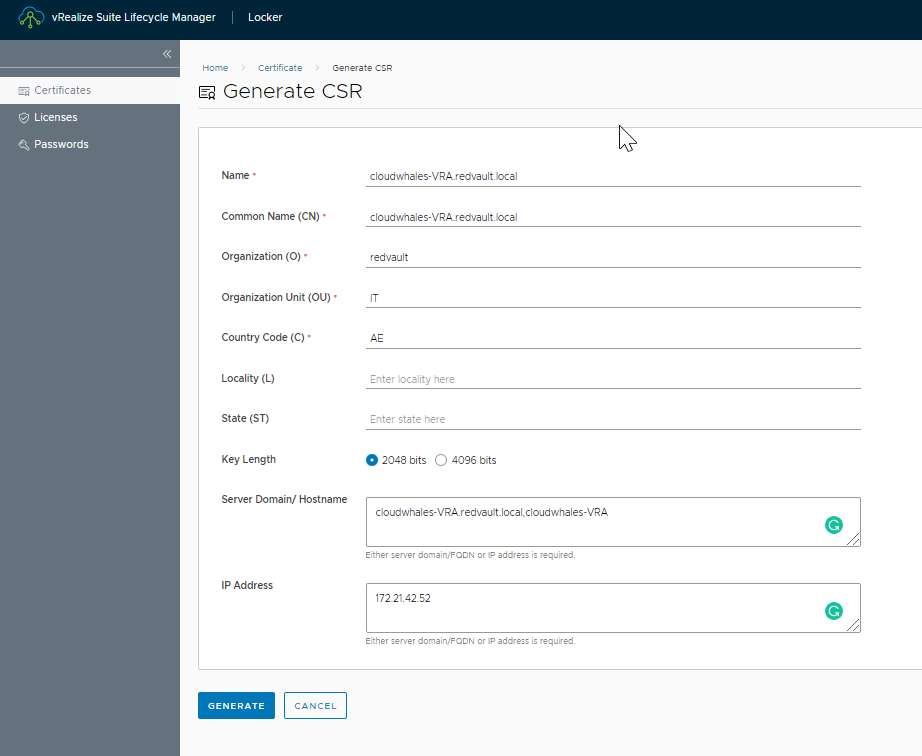
After completing CSR request a certificate file (*.pem) will be created, the file contains both CSR request and private key.
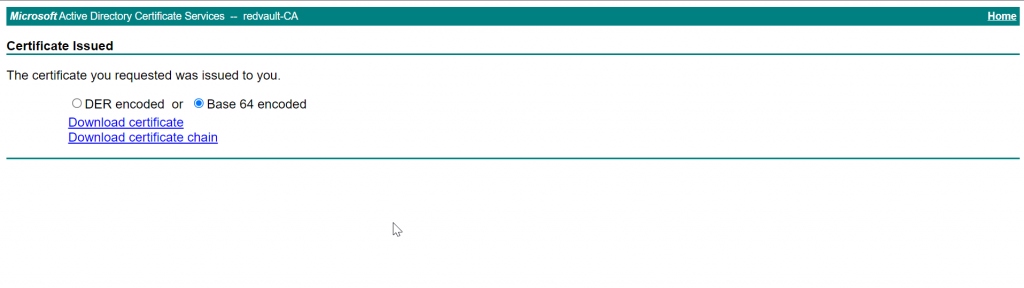
Next we need to open CA web enrollment interface to request a public certificate using CSR
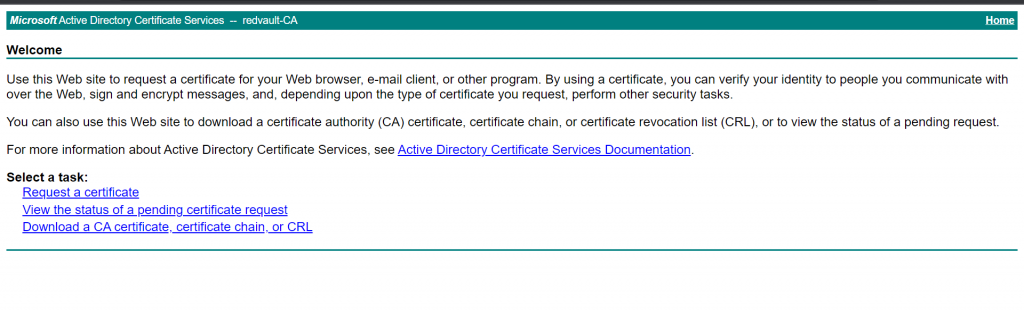

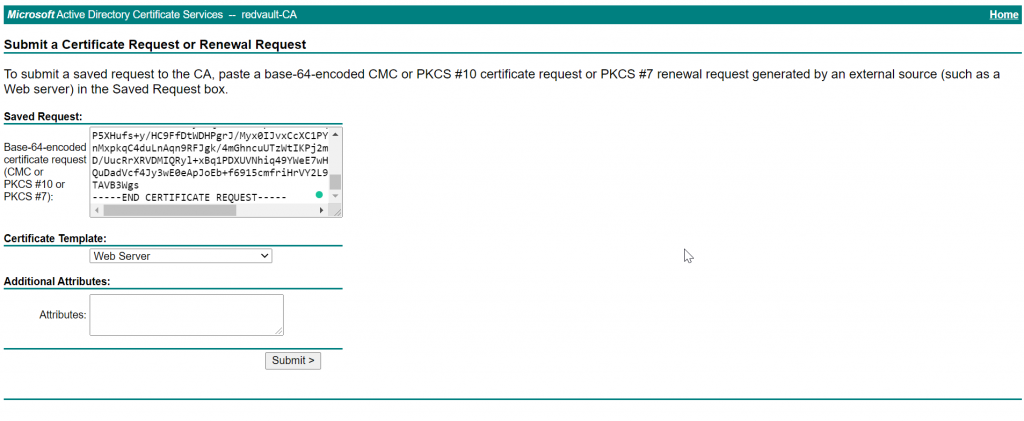
Use Web Server template
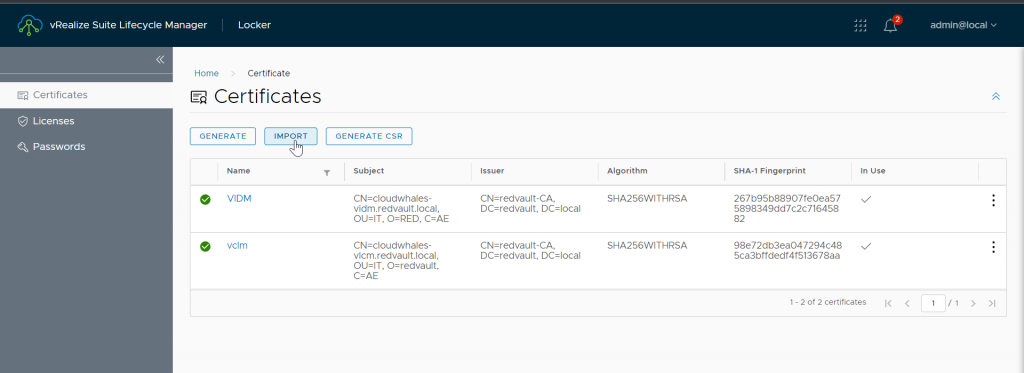
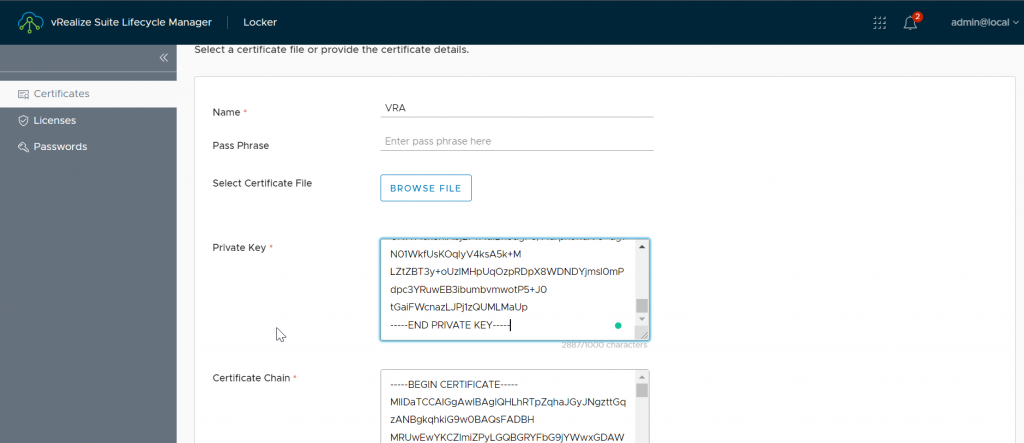
Now we go back to vRLCM > Locker to import the certificate as follows
- Name: name in certificate store
- Private key: generated while creating CSR
- Certificate Chain: public certificate followed by CA chain ( all intimidate and root CA)
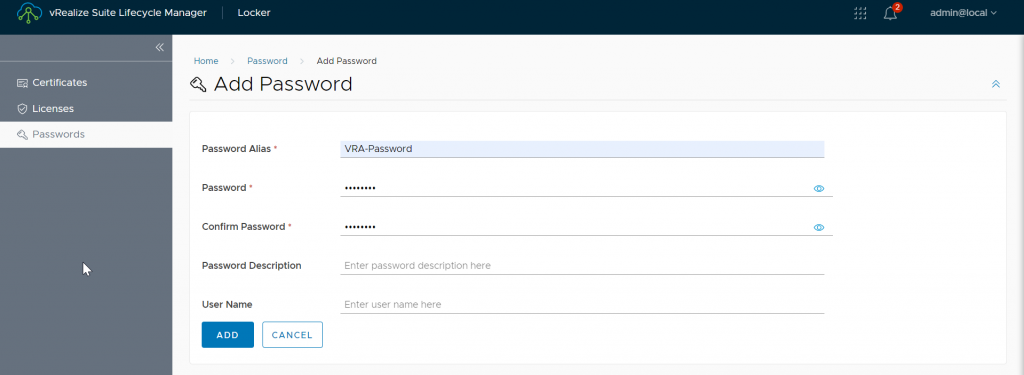
4- create a password to be used for vRA root and admin user
Create vIDM environment
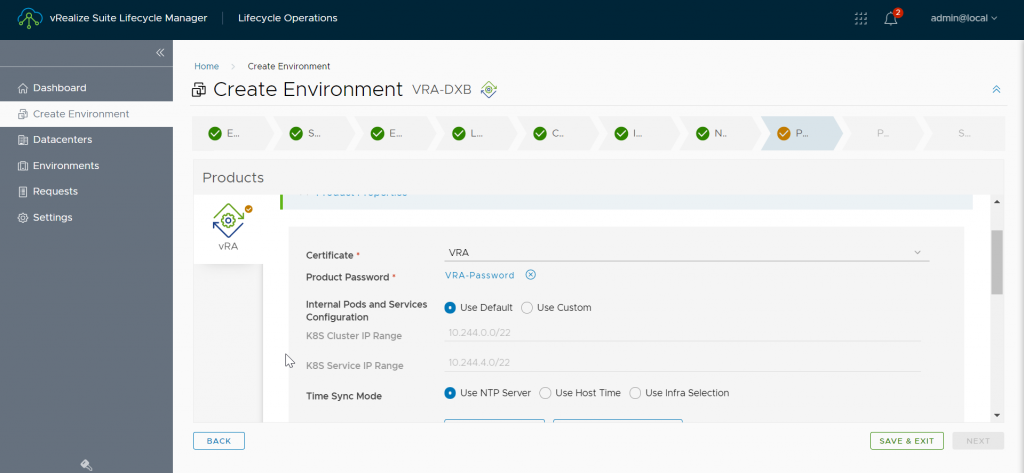
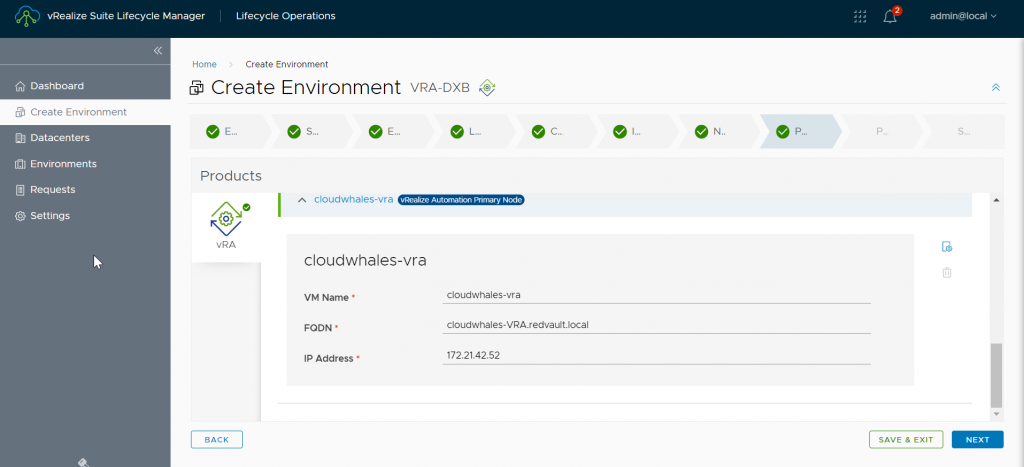
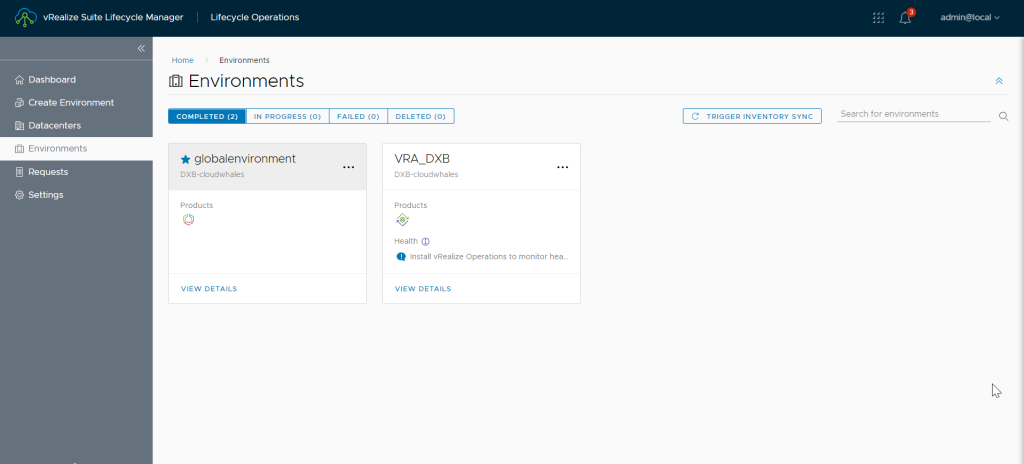
With all prerequisites in hand we can start deploying single node VRA
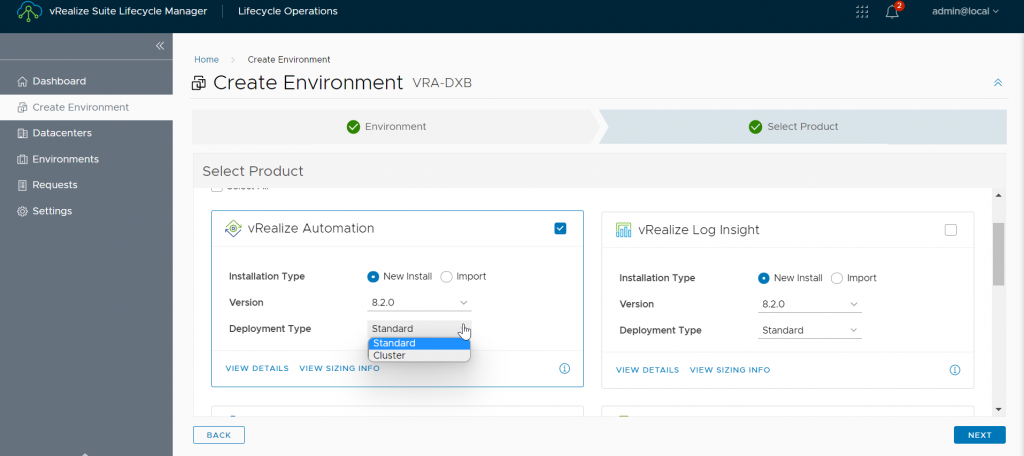
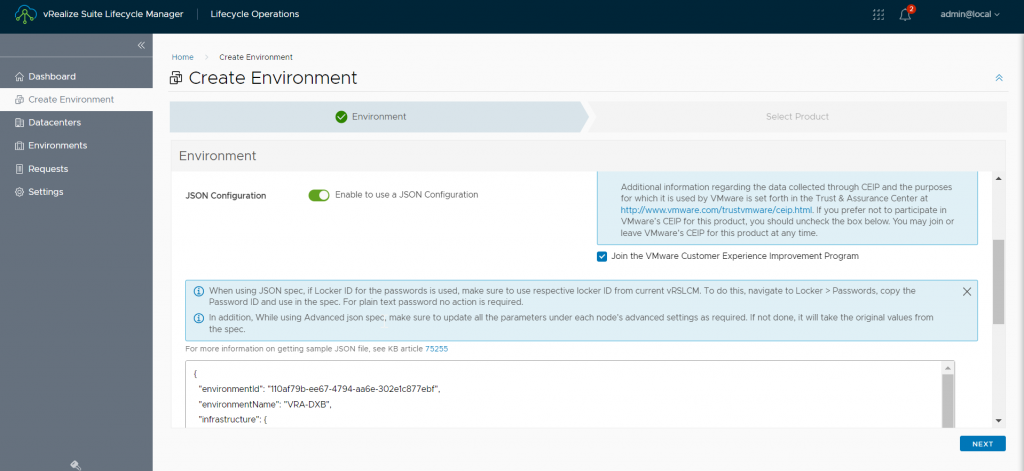
Select product type, version, and deployment type (single node or three-node cluster)

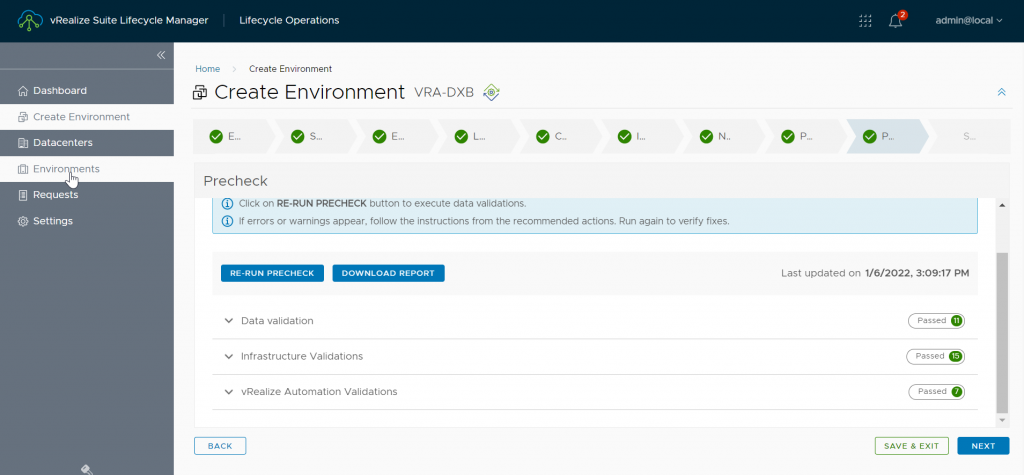
Before clicking submit you can export the configuration as json file (for future reference or if creation failed and you need to run the wizard again without filling all parameters for the sound time)
This error was related to an old PTR record I had in DNS. so deleted that record and retry the operation.
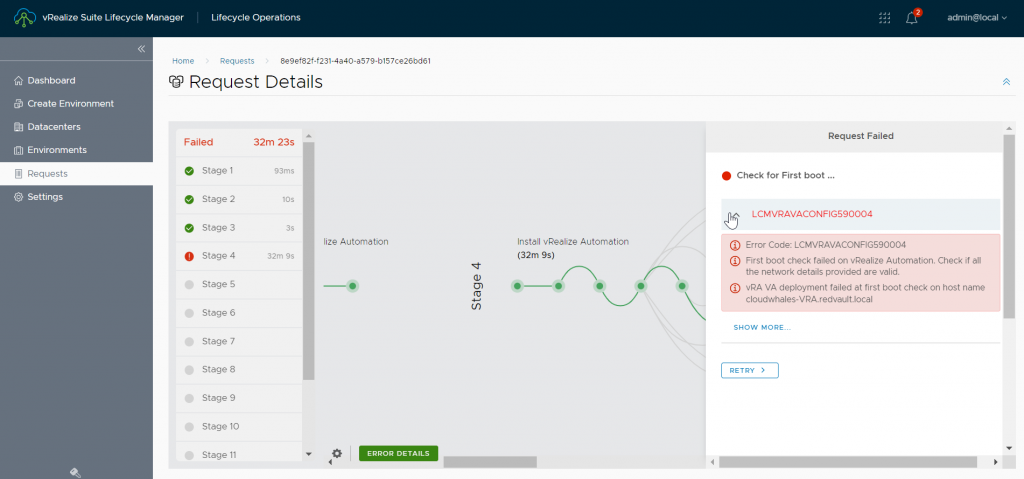
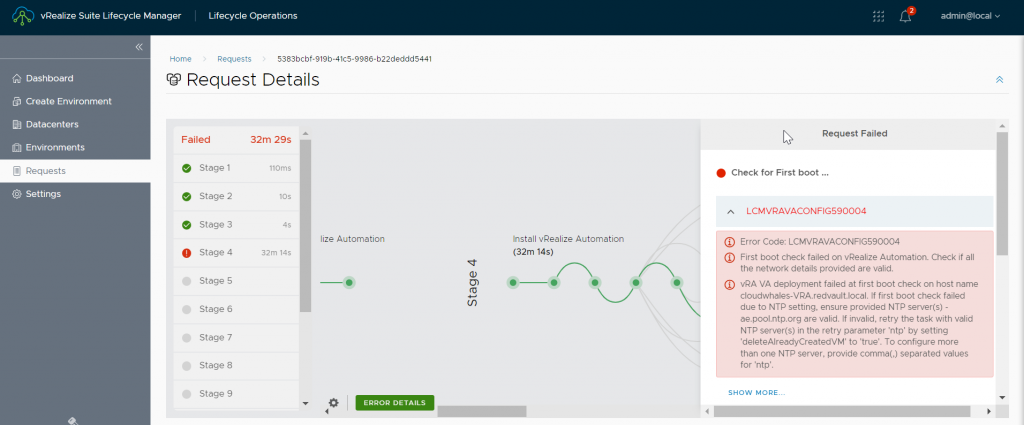
The second time around got a new error that failed to connect after first boot, tried SSH with the password I have set in VRA environment creation but access was denied.
Stumbled into this KB https://kb.vmware.com/s/article/83767 about a known issue of default password, this made a lot of sense as I’ve deployed this at customer exactly 1 year ago where 8.2 was the latest and didn’t have any problem or error at that time.
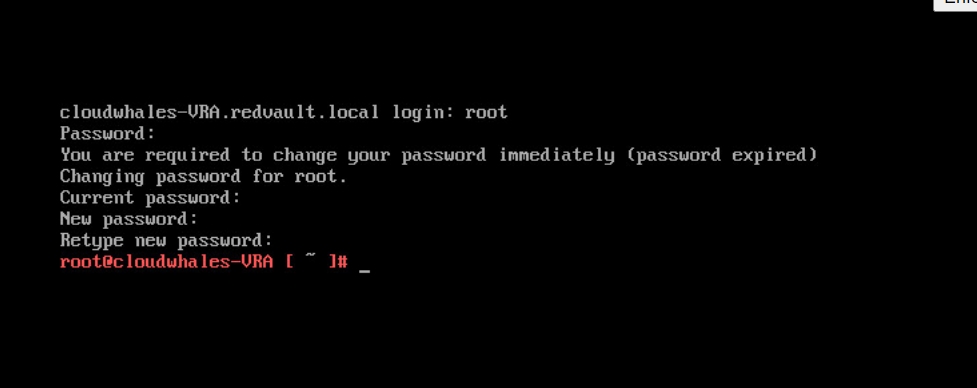
The issue as explained in KB, root user default password get expired after 1 year from release day, so now LCM can not login with the default password and update the password.
so the workaround was to open VM console and manually login > update password with the same in VRA environment parameter
Retry the environment creation request (this will not restart all operation)
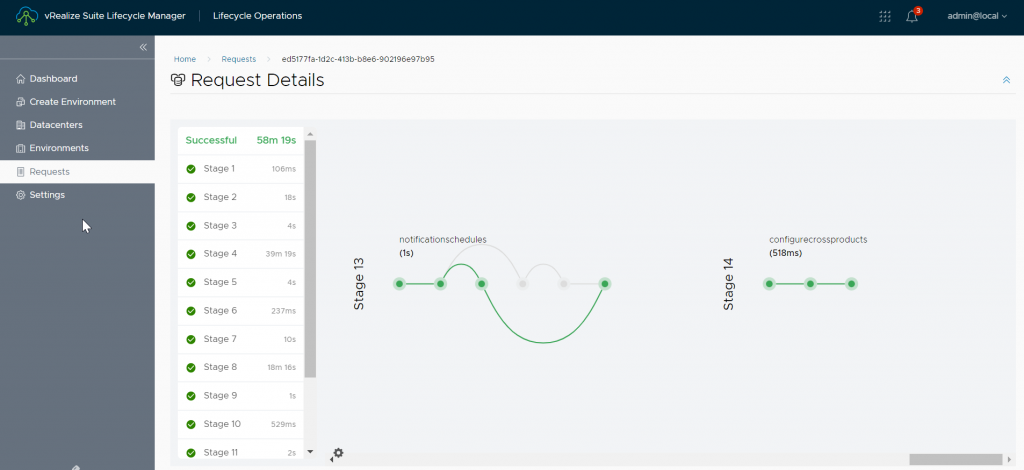
VRA deployment took approx 1 hour (troubleshooting two errors addtional 30 mins)
Next open vRA FQDN in any browser and need to go to the login page (VIDM) to authenticate and authorize and then redirected back to vRA
Next, we will deploy VROPs using vRLCM
Written by,
Amr Abdelshafi

Solutions Architect – Cloud & Infrastructure