To start deploying different vRealize suite product components, I will always start with vRealize Suite Lifecycle Manager to maximize the benefits of vRealize Suite by optimizing the time and effort invested.
Will need to download VMware vRealize Suite Lifecycle Manager Easy Installer iso file. Unfortunately, before 8.4 version vRLCM did not come by itself as a separate download, it used to be shipped under vRA (vRealize easy installer). After downloading the iso file around 11 GB that contains 3 ova files for vRLCM, VRA, and VIDM and the UI installer file that we will use to deploy vRLCM only, and will skip VRA and VIDM for now.
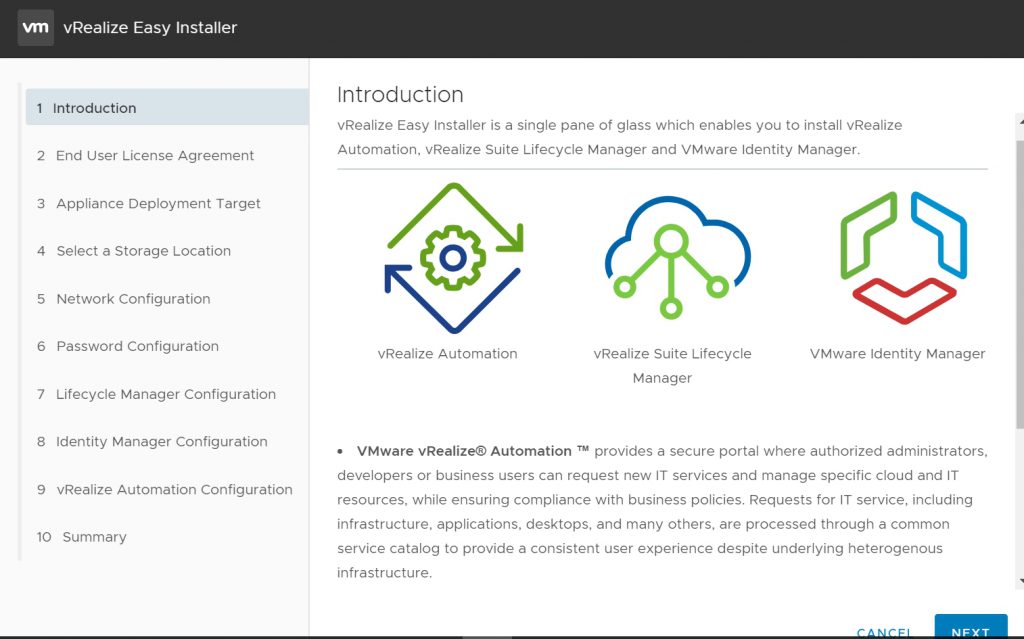
Step 1: Deploy vRLCM using easy installer
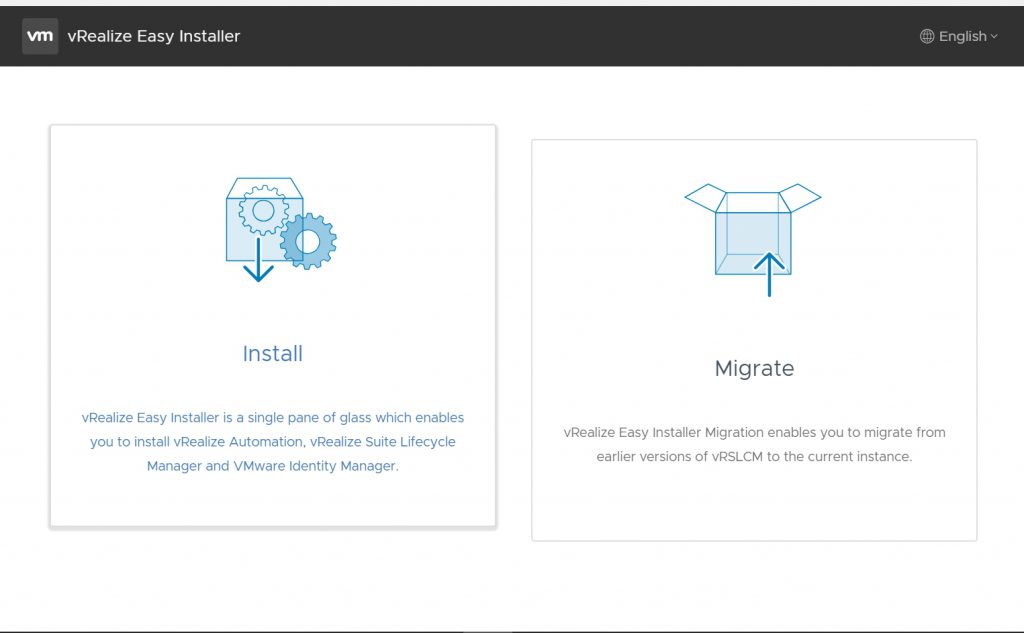
1- After running vrlcm-ui-installer you have an option to install or migrate from an existing setup
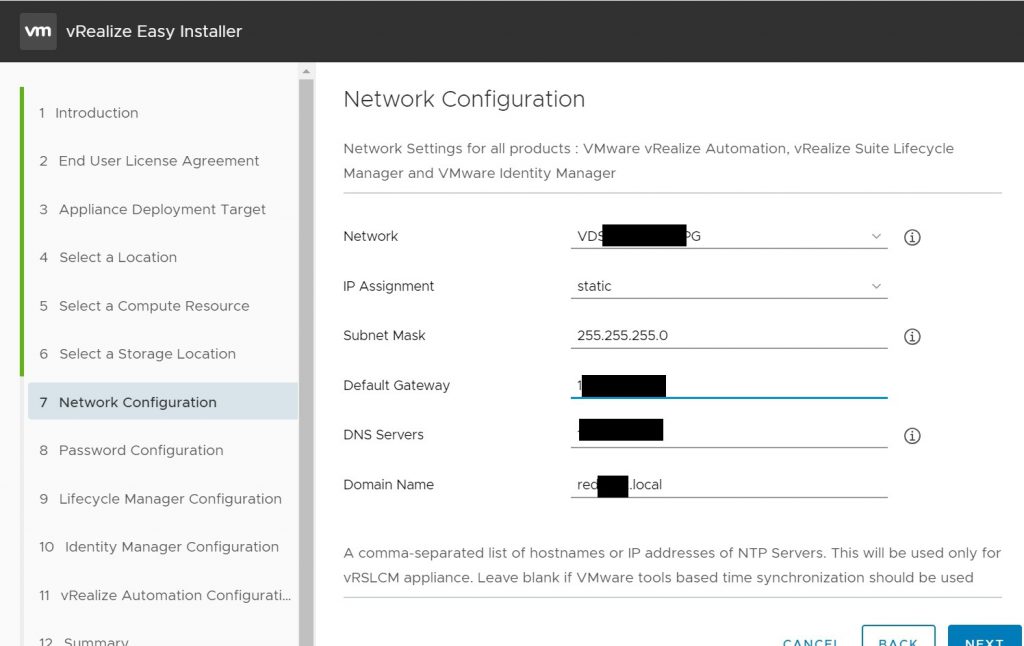
2- Add network details for your specific environment
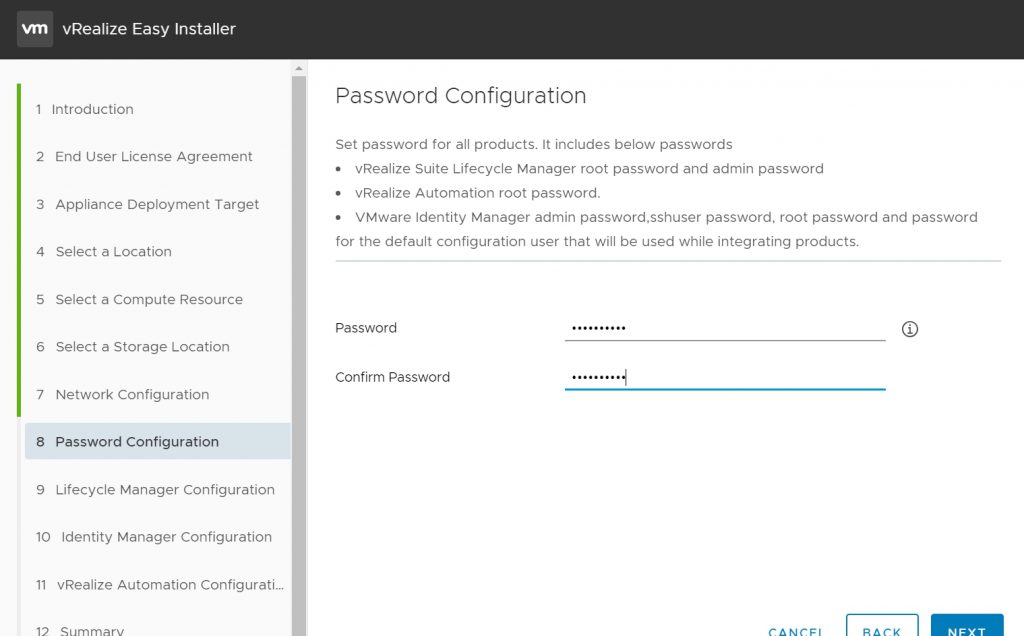
3- Add password to be used for root and admin@local users
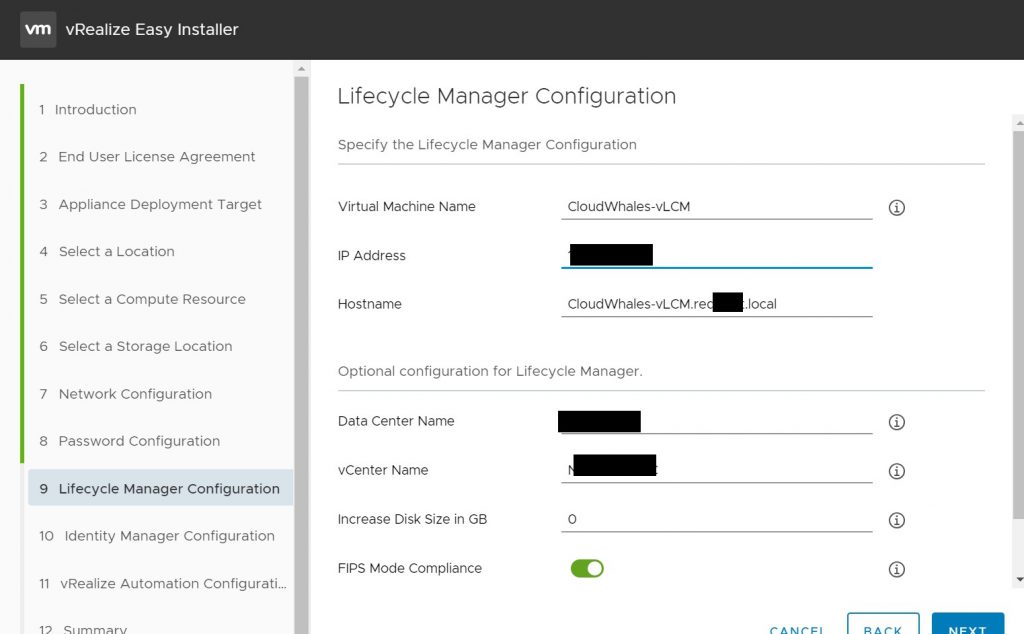
4- vRLCM configuration parameters
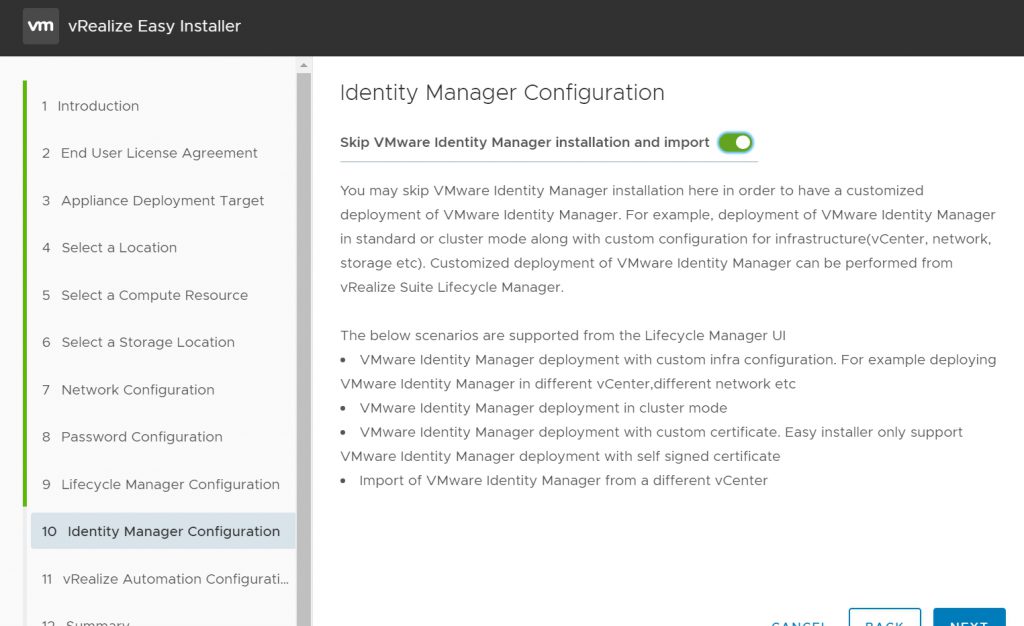
5- Skip VIDM configuration step (will be done later stage)
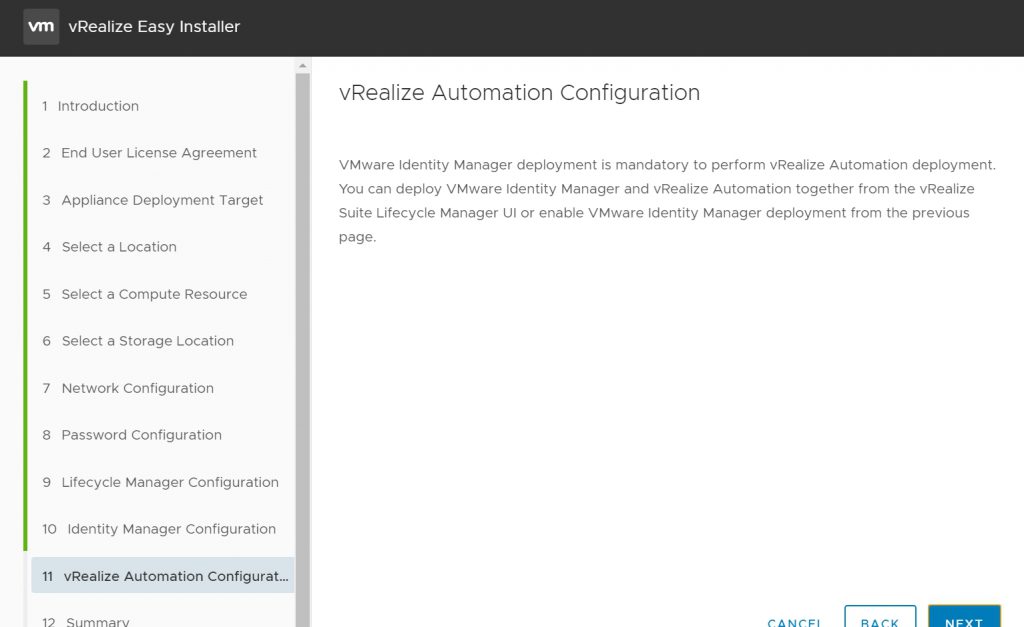
6- Skip VRA configuration step (will be done later stage)
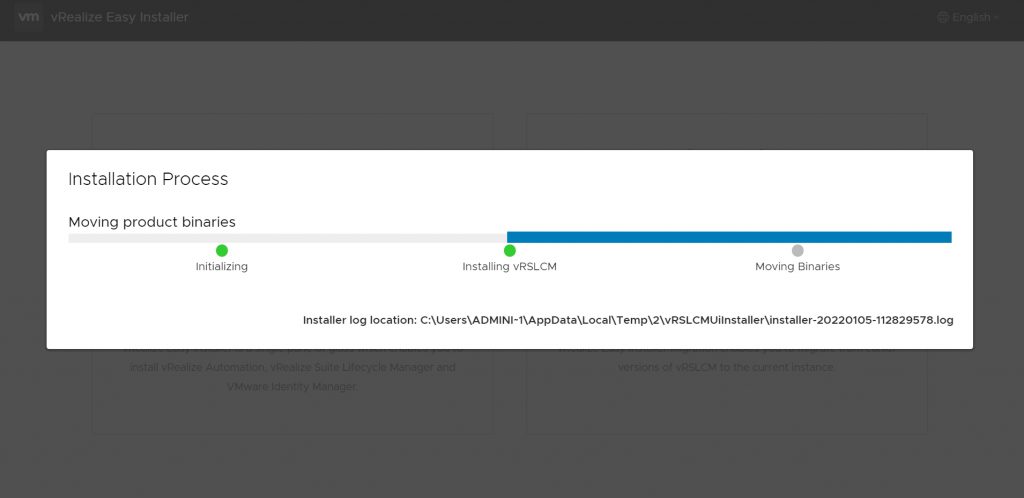
7- After review summary page installation will begin
While the installation was in progress I went and created a DNS record with PTR for vRLCM FQDN (best done before installation as this is a prerequisite for the installer to resolve vCenter and vRLCM
Installation took 20 minutes to run the installer wizard and deploy vRLCM OVA
After installation is completed you can connect to https://FQDN/vrlcm using admin@local with the password set in step 3
Step 2: vRLCM initial configration
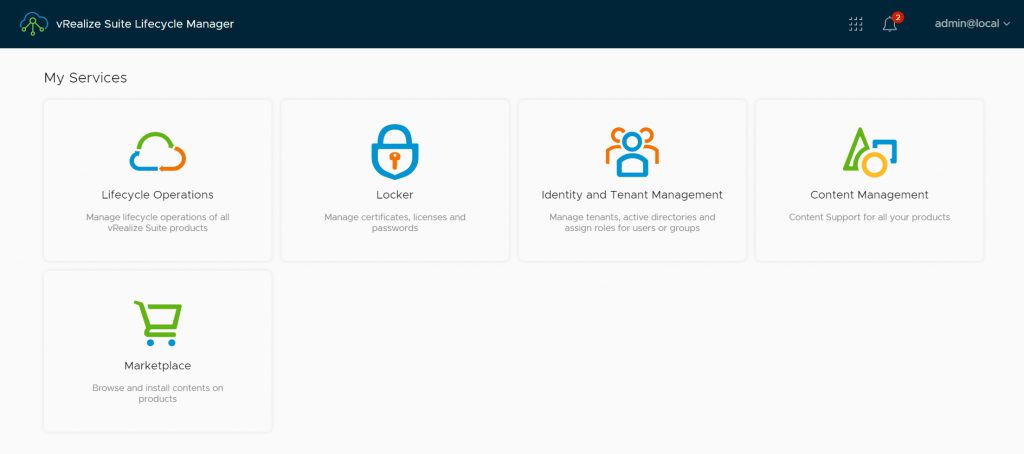
Lifecycle Operations where we can create and manage different vRealize environments, and manage configuration of vRLCM itself
Locker where we can add and store passwords, License, and manage the lifecycle of certificates.
Identity and Tenant Management where we add VIDM users’ permission on vRLCM and content management.
Content Management brings DevOps principles to the vRLCM environments, you can connect to a source control
MarketPlace: access to VMware marketplace for additional content to be deployed as a plugin to vRealize suite or as a separate OVA
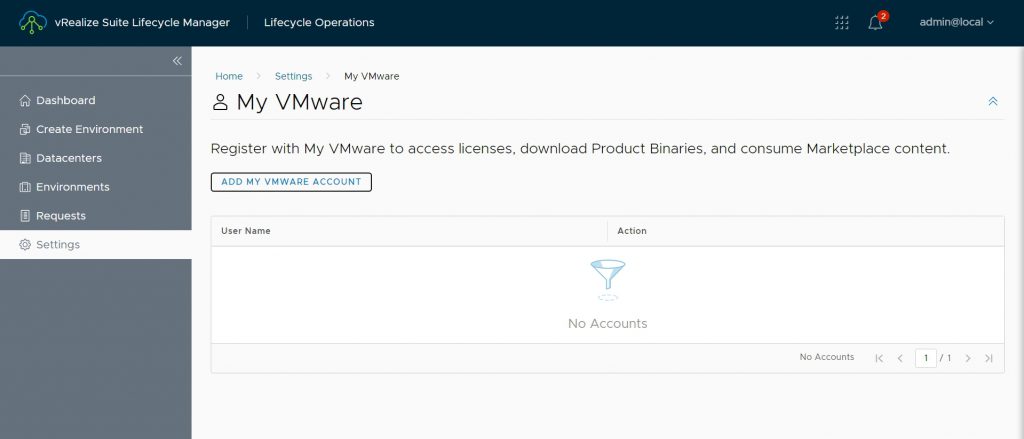
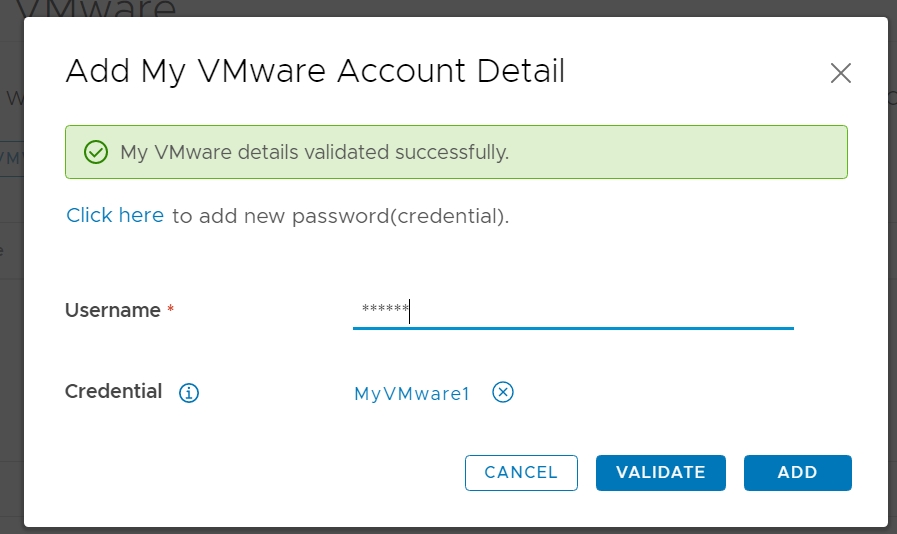
The first step is adding My VMware account that will help in direct downloading Binaries and accessing entitled licenses.
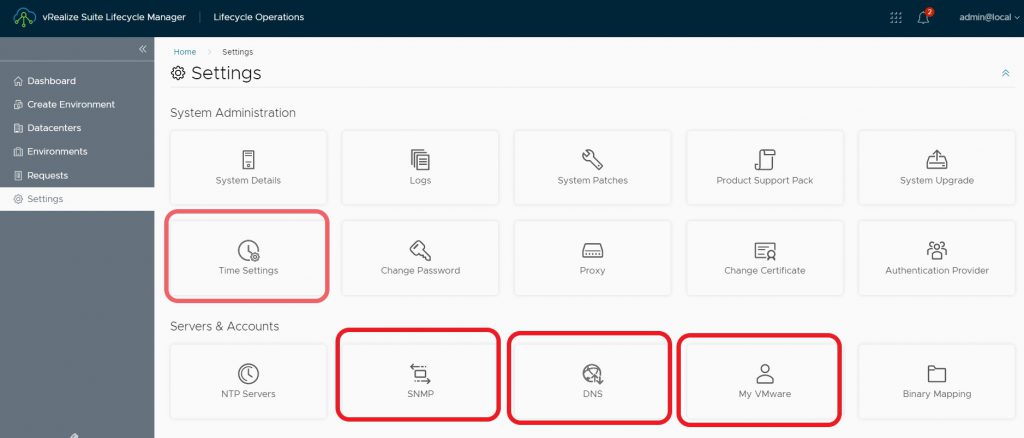
This step requires internet access, if proxy is required you can add proxy form lifecycle Operations > setting > proxy and enter proxy details
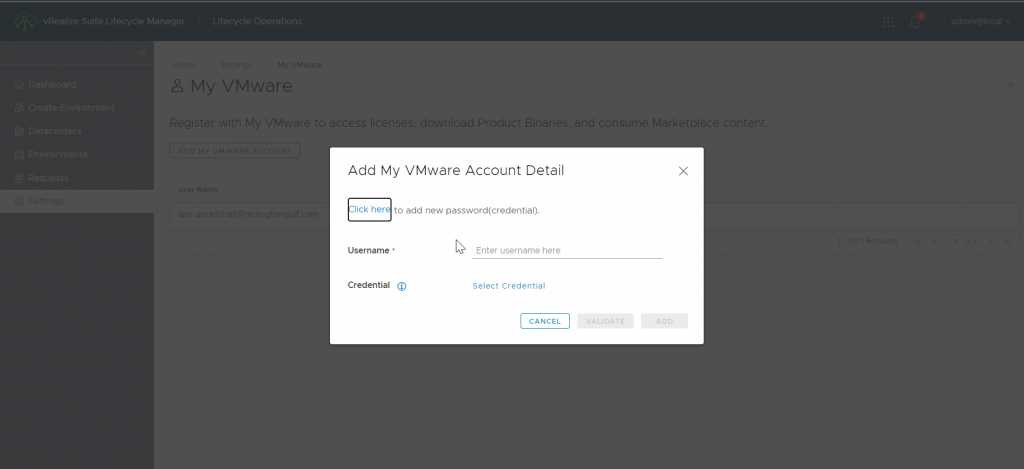
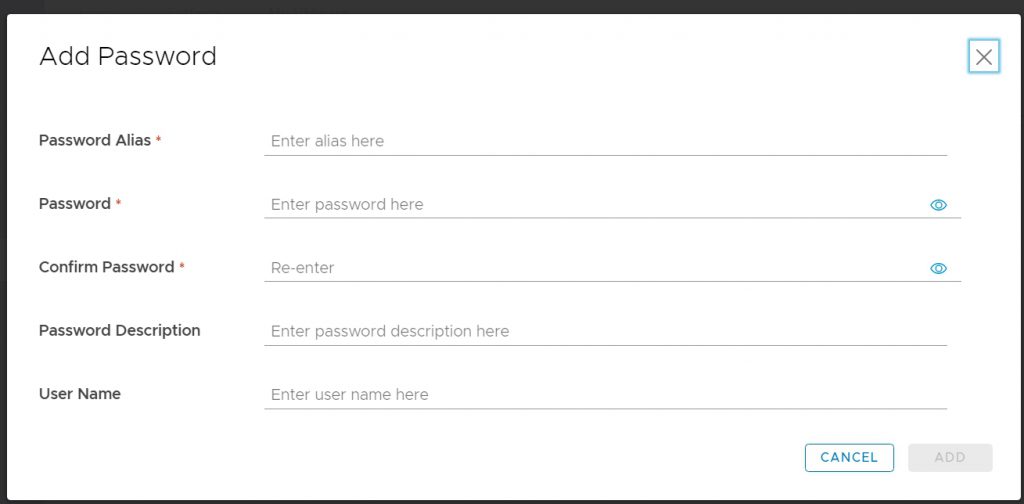
We need to create credential with My VMware account password that will be stored in Locker Service
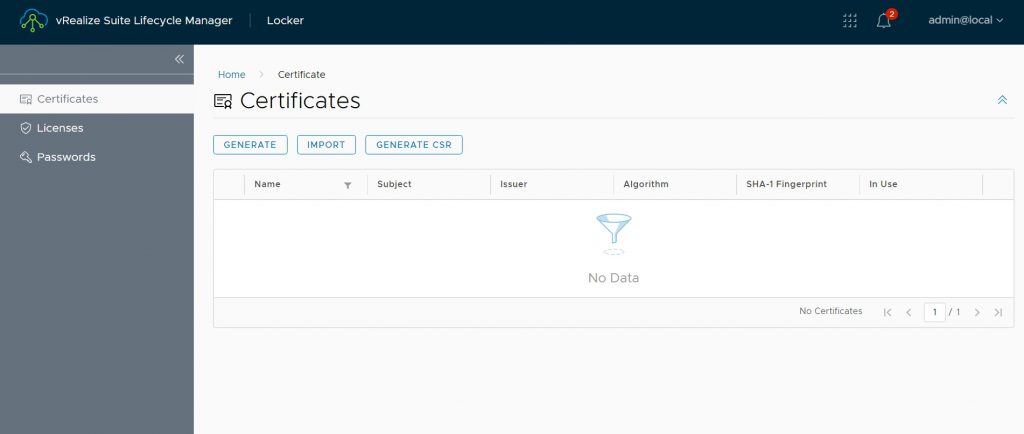
Next, we can change vRLCM certificate from self-signed on with a certificate signed by your CA. to do so we need to shift to Locker service
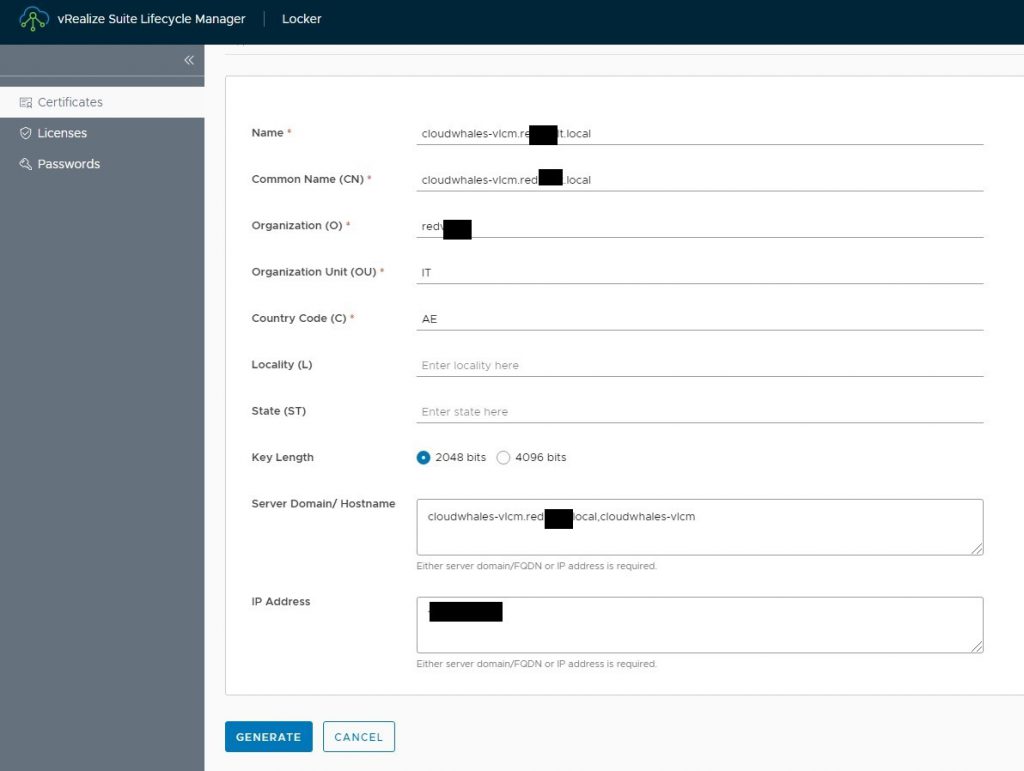
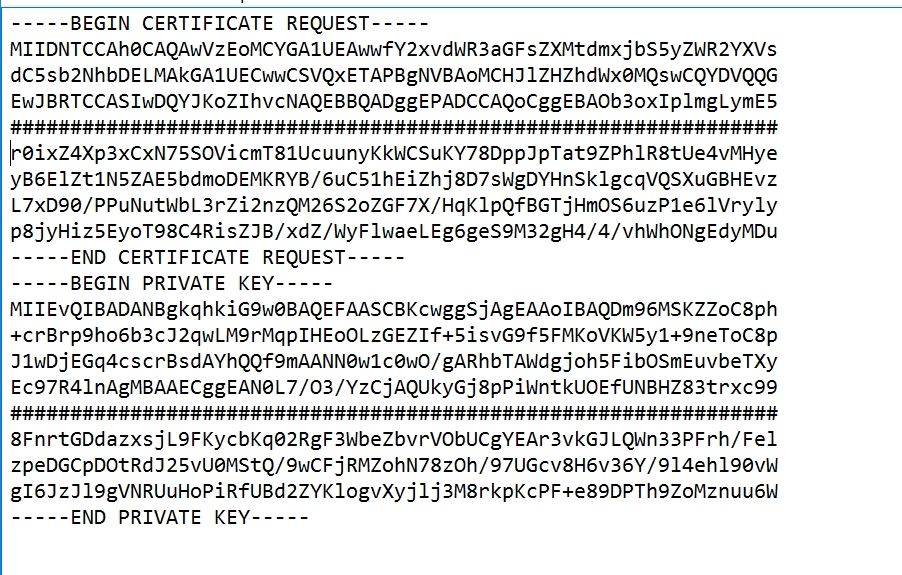
After completing CSR request a certificate file (*.pem) will be created, the file contains both CSR request and private key.
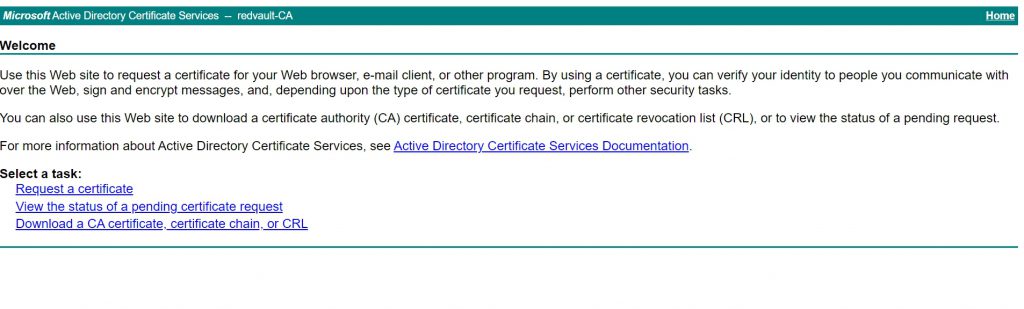
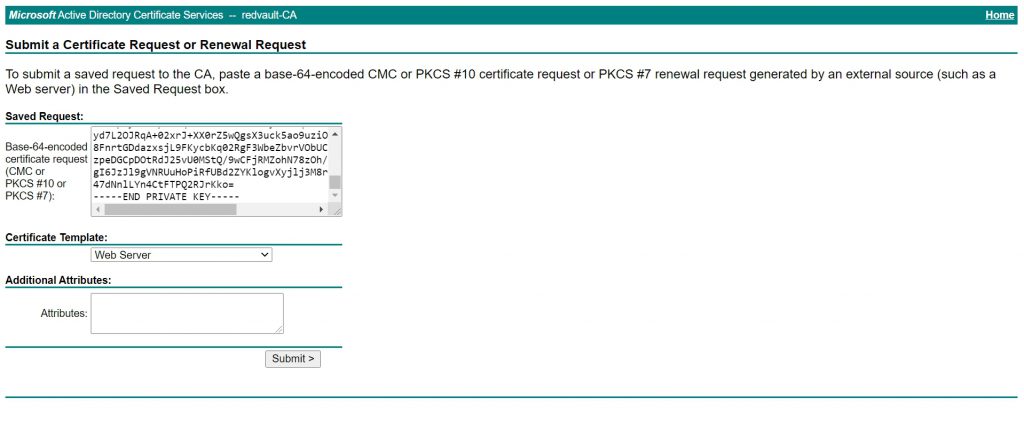
Next we need to open CA web enrollment interface to request a public certificate using CSR

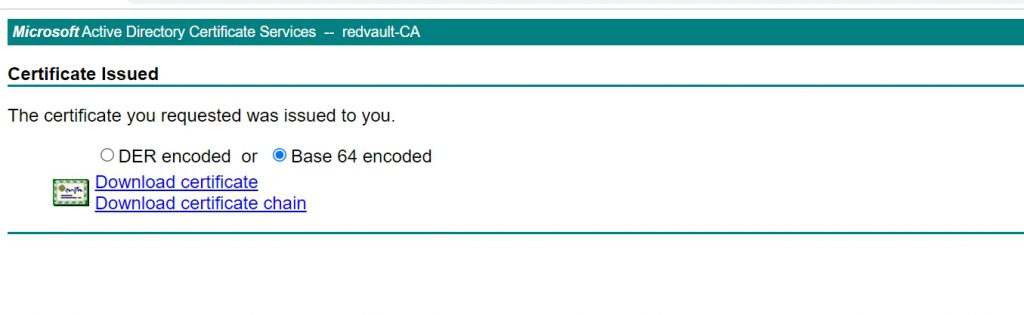
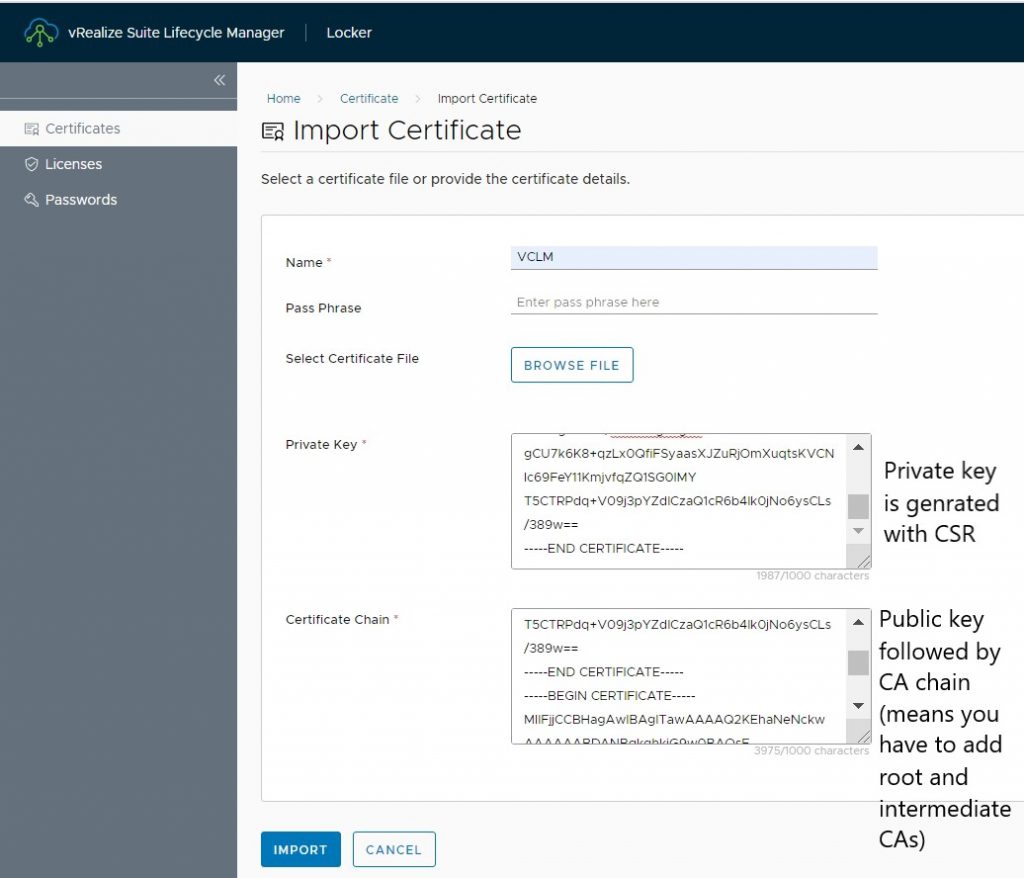
Now we go back to vRLCM > Locker to import the certificate as follows
- Name: name in certificate store
- Private key: generated while creating CSR
- Certificate Chain: public certificate followed by CA chain ( all intimidate and root CA)
The next step is to replace the self-signed certificate created while installation with newly imported one
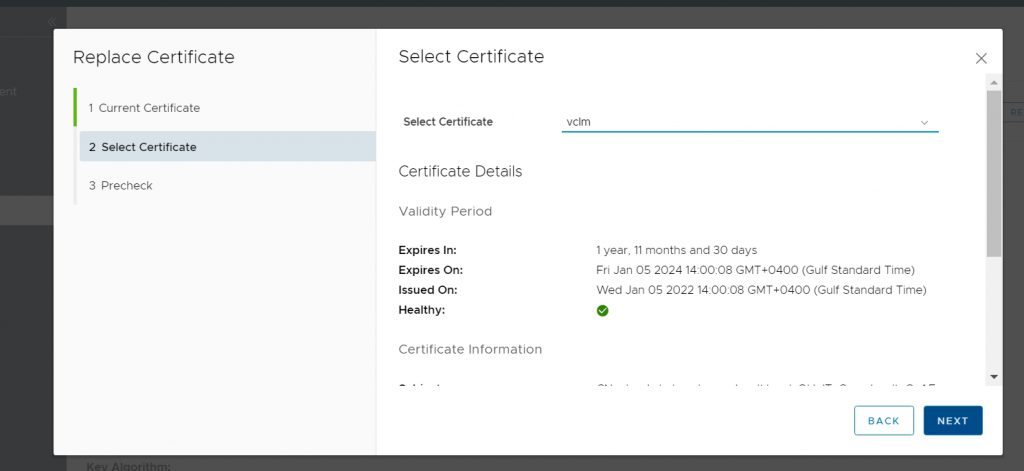
configurtion steps toke 10 mins
Now we have finished deploying the vRLCM and the first initialization steps. now will move to deploy the rest of vRealize Suite. will start with VIDM installation (part 2)
Written by,
Amr Abdelshafi

Solutions Architect – Cloud & Infrastructure