After installing vRLCM in Part (1) now we are ready to use vRCLM to deploy the rest of vRealize suite products and will start off with vIDM. as will be used as SSO for the rest of vRealize suite products.
vIDM is a different product WorkSpace one as it is used for Realize Suite products only
Preparing prerequisites of deployment
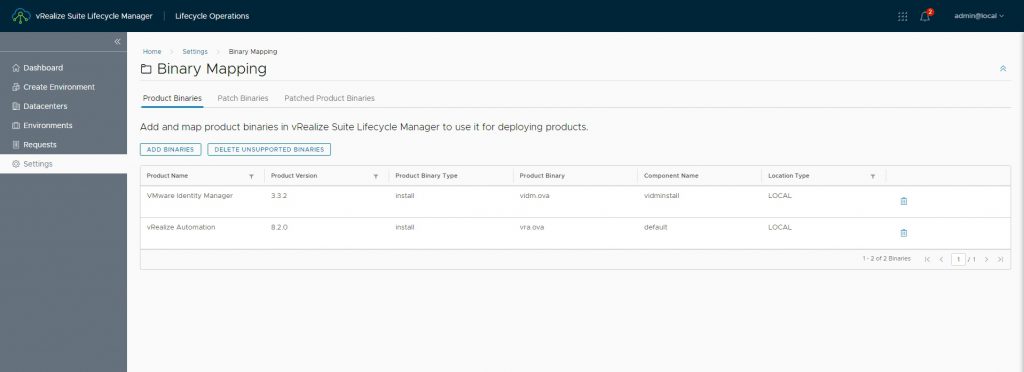
First, we create some prerequisites like Binaries, DNS, certificate, and user. luckily the binaries already copied inside vRLCM while the easy install wizard installation process
1- Check binaries in vRLCM
2- Create DNS record
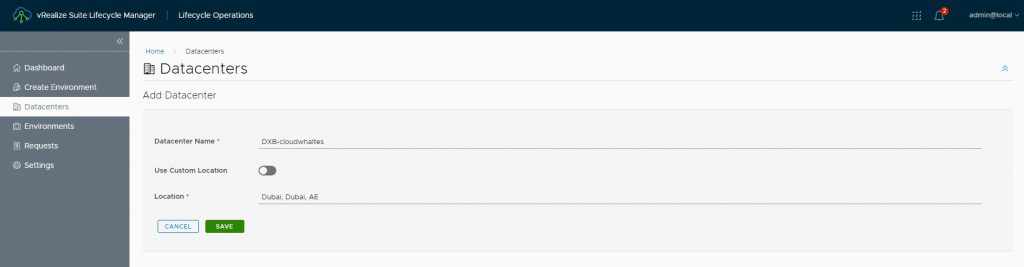
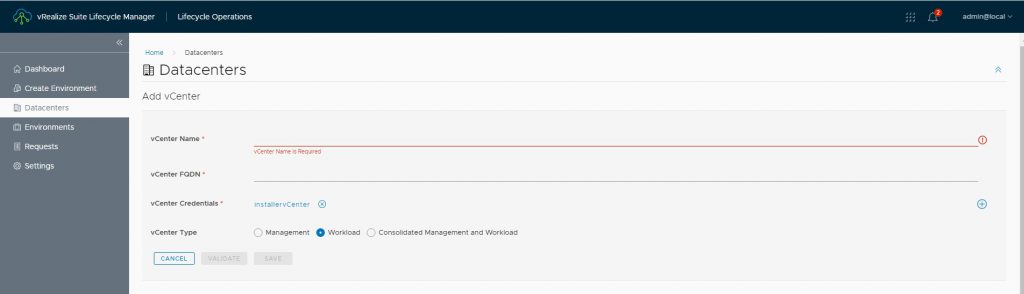
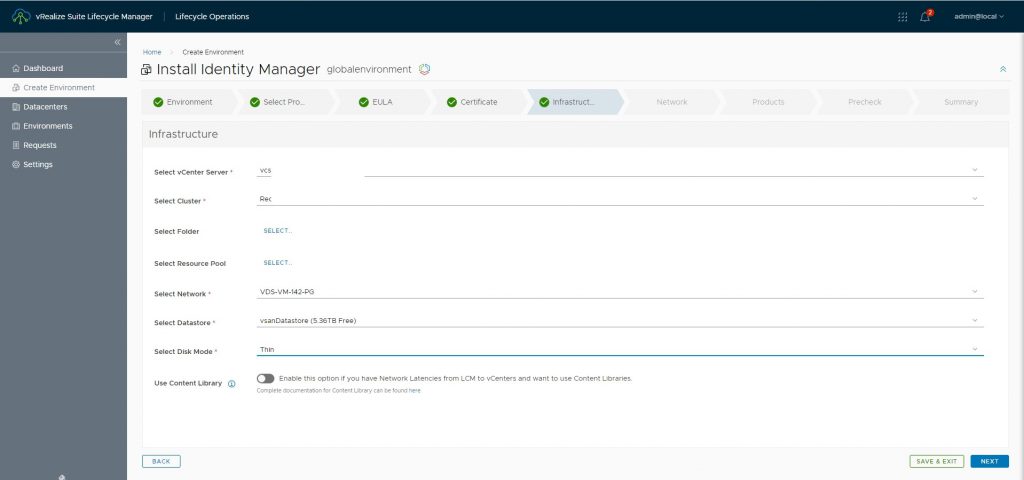
Before going forward vRLCM has the concept of Environment (VMware vRealize suite products) mapped to Datacenters which can contain one or more vCenter.
3- Create Datacenter
You can edit the created while installation or create a new environment and add vCenter
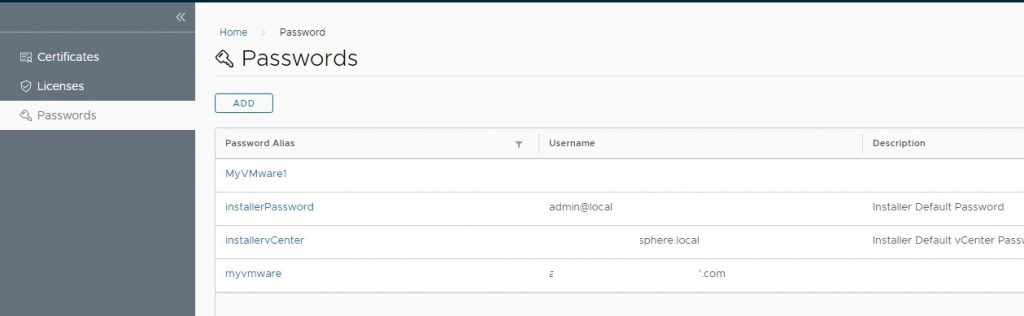
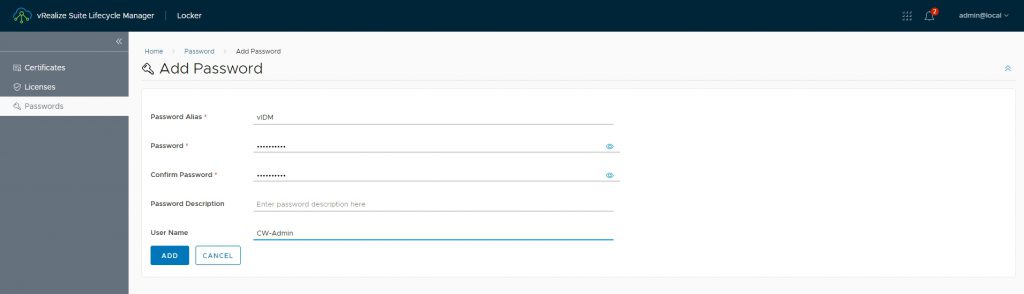
4- Add vCenter to Datacenter, before adding vCenter we will add administrator credentials in passwords
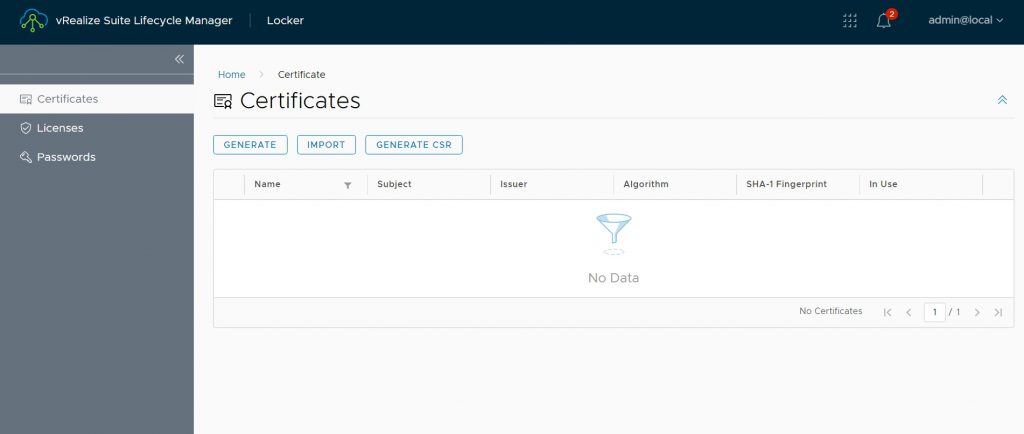
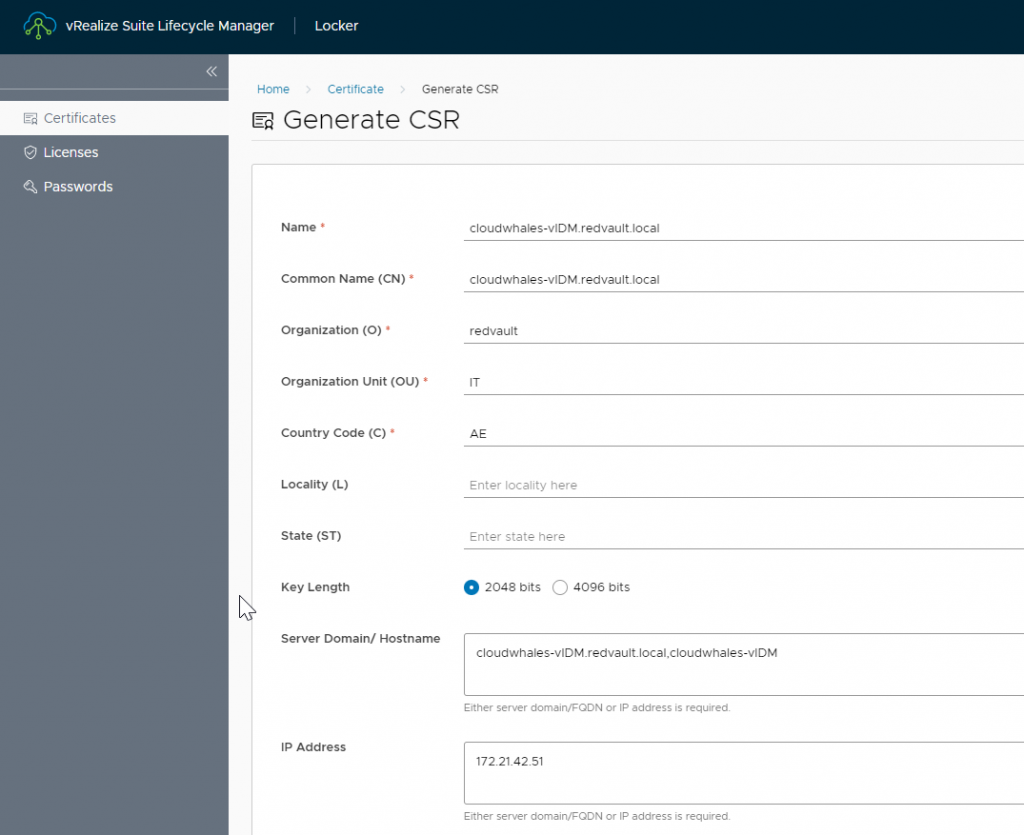
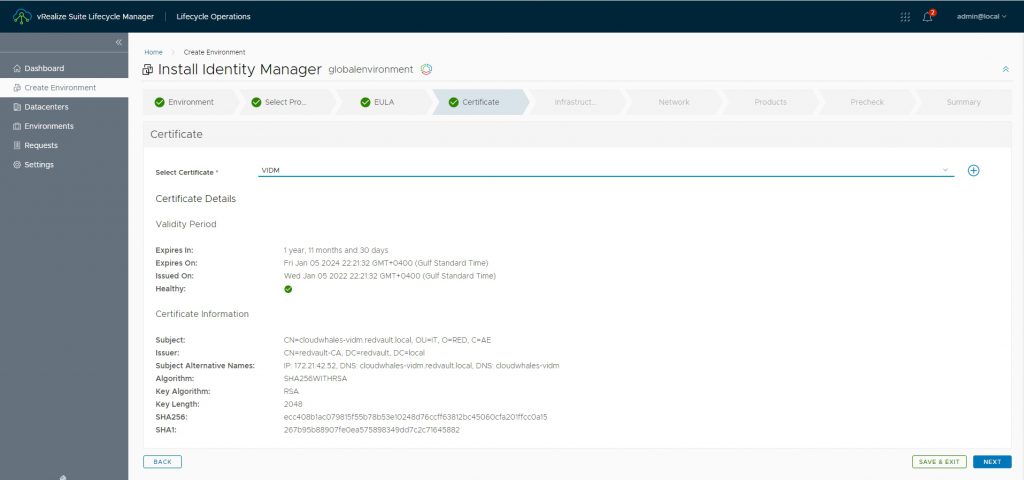
5- Create CSR and import vIDM certificate
Next, we create vIDM certificate to use a certificate signed by your CA. to do so we need to shift to Locker service
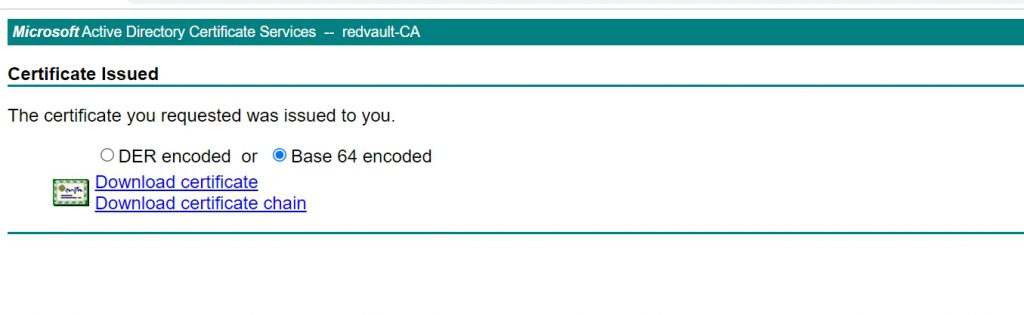
After completing CSR request a certificate file (*.pem) will be created, the file contains both CSR request and private key.
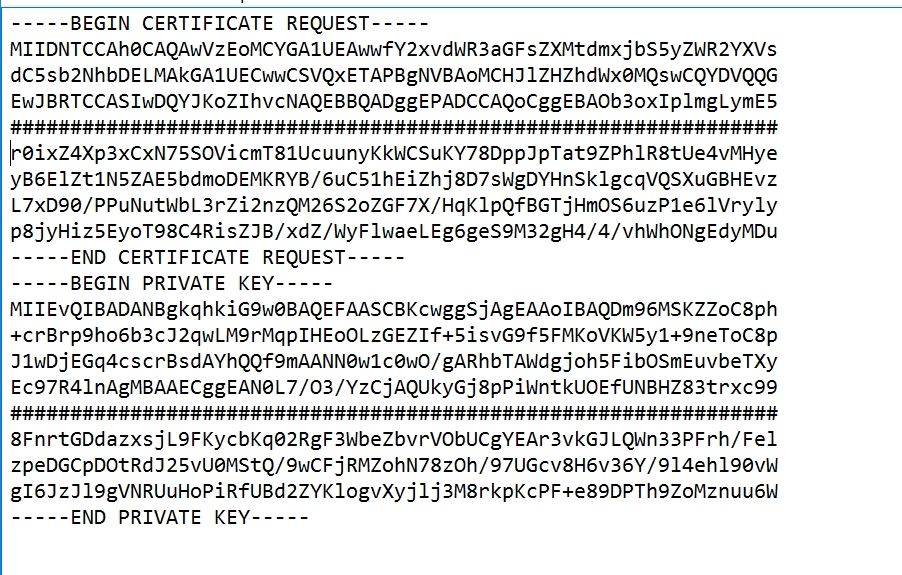
Next we need to open CA web enrollment interface to request a public certificate using CSR
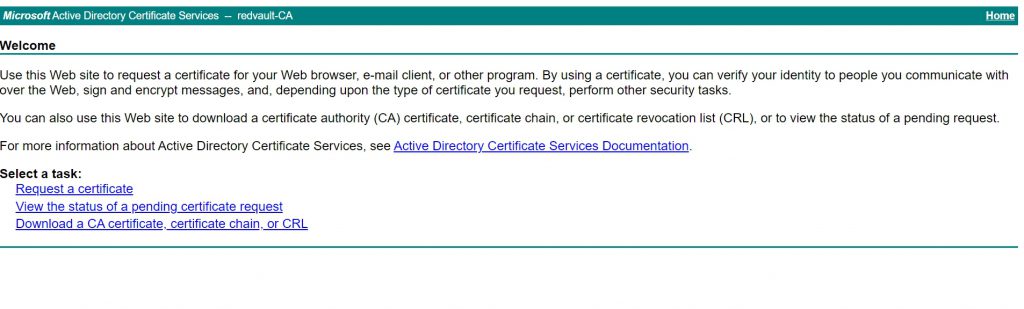

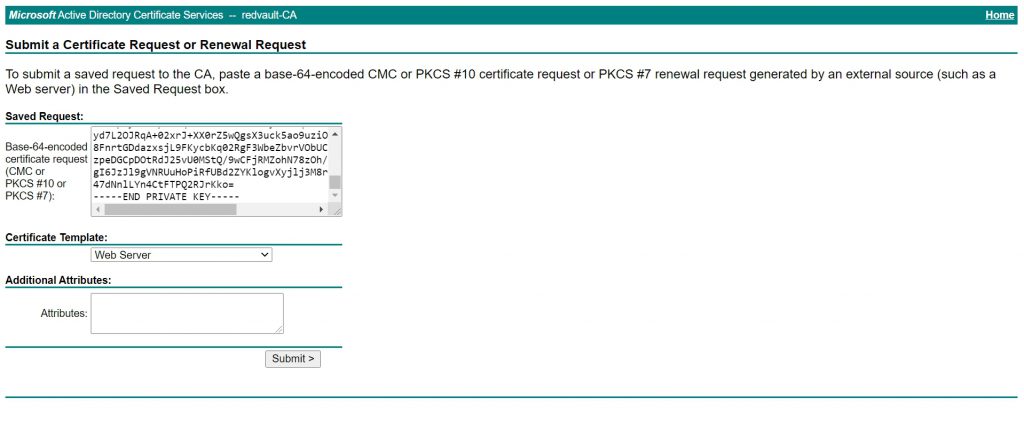
Use Web Server template
Now we go back to vRLCM > Locker to import the certificate as follows
- Name: name in certificate store
- Private key: generated while creating CSR
- Certificate Chain: public certificate followed by CA chain ( all intimidate and root CA)

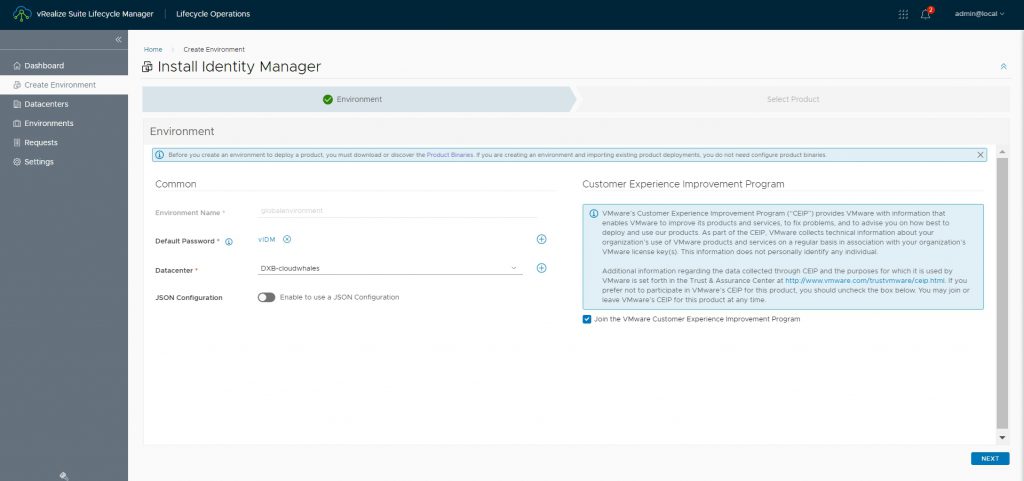
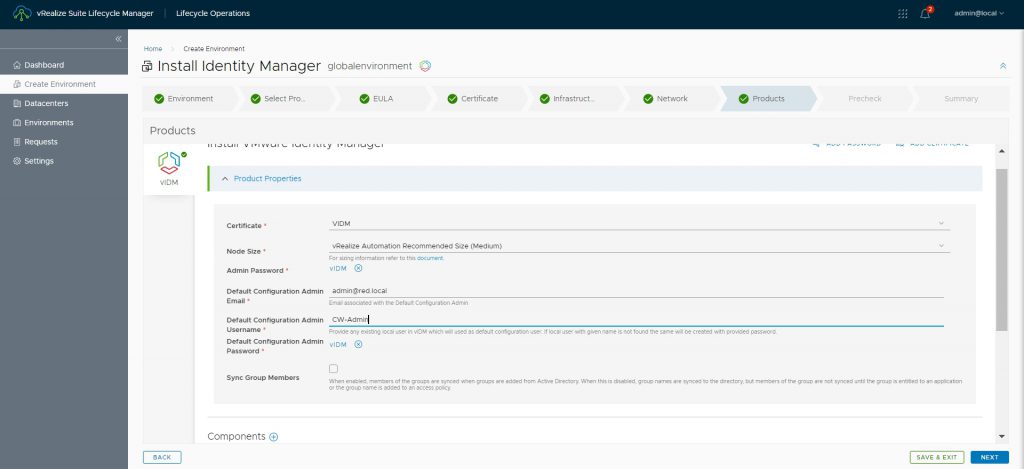
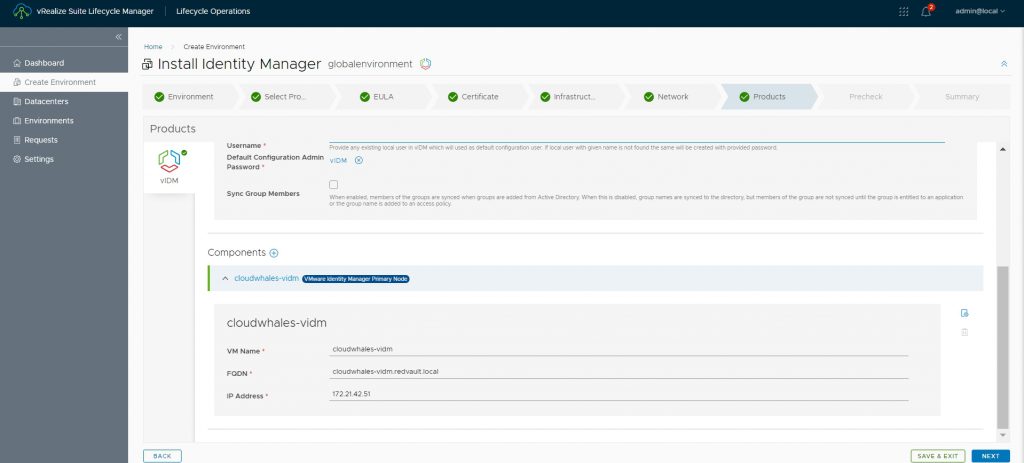
Create vIDM environment
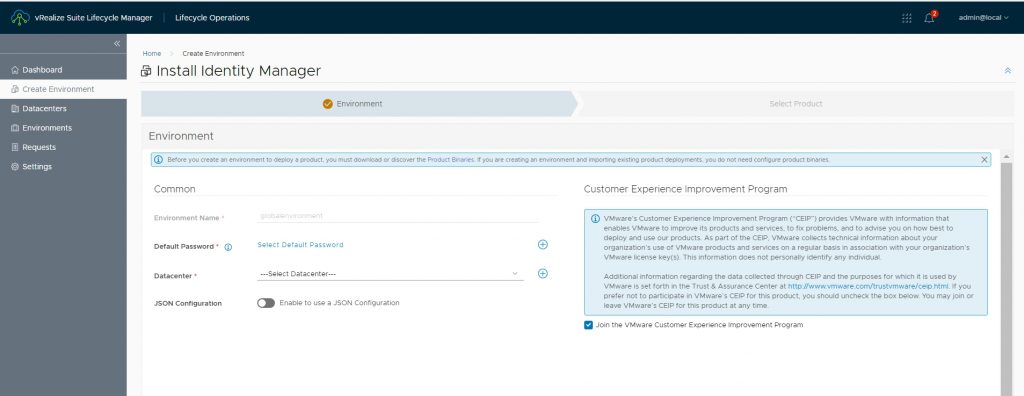
- VIDM environment name can not be changed
- VIDM admin User and password needs to be created bedore proceeding
- Select datacenter
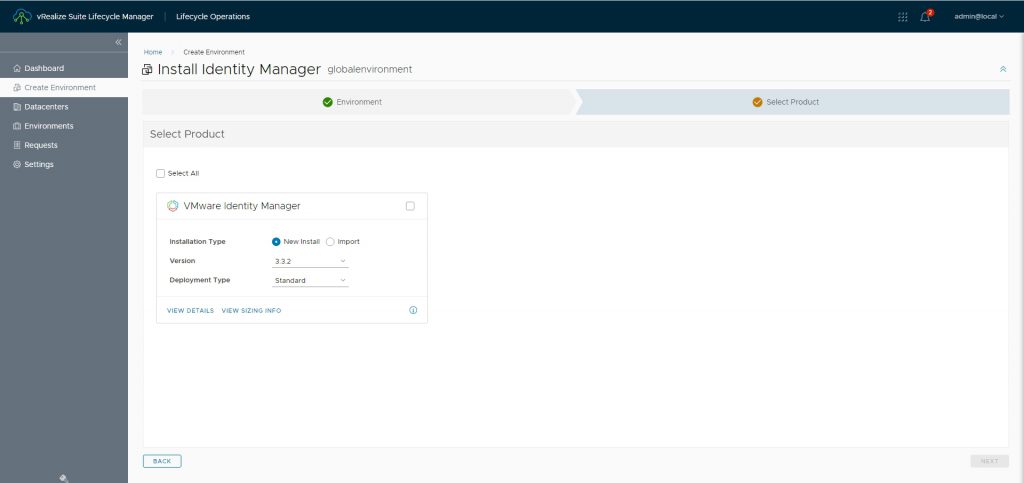
Select product type, version, and deployment type (single node or three-node cluster)
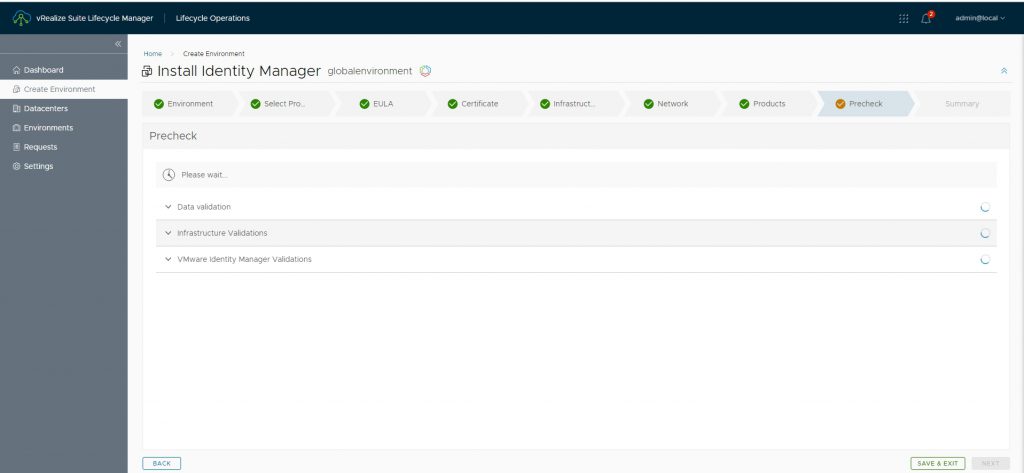
After validation, I had an infrastructure validation error that the installer can’t access the host with port 443, while the firewall was open and pingable from vRLCM appliance.
Soon I found that issue was related to how ESXi host was added with name and vRLCM was not able to resolve this ESXi hostname. once DNS entry is added the installation went through

Before click submit you can export the configuration as json file (for future reference or if creation failed and you need to run the wizard again without filling all parameters for the sound time)
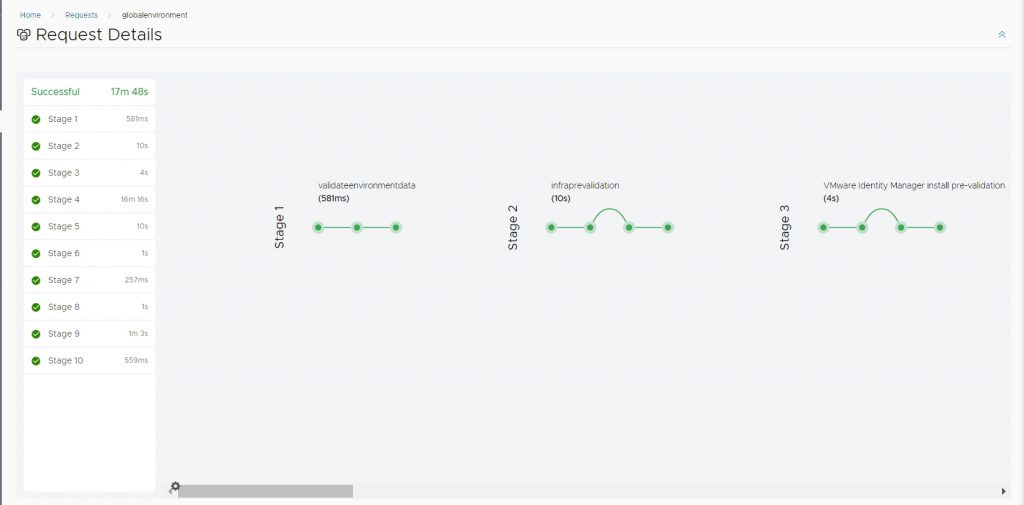
Installation took 35 minutes to prepare prerequisites and create vIDM environment
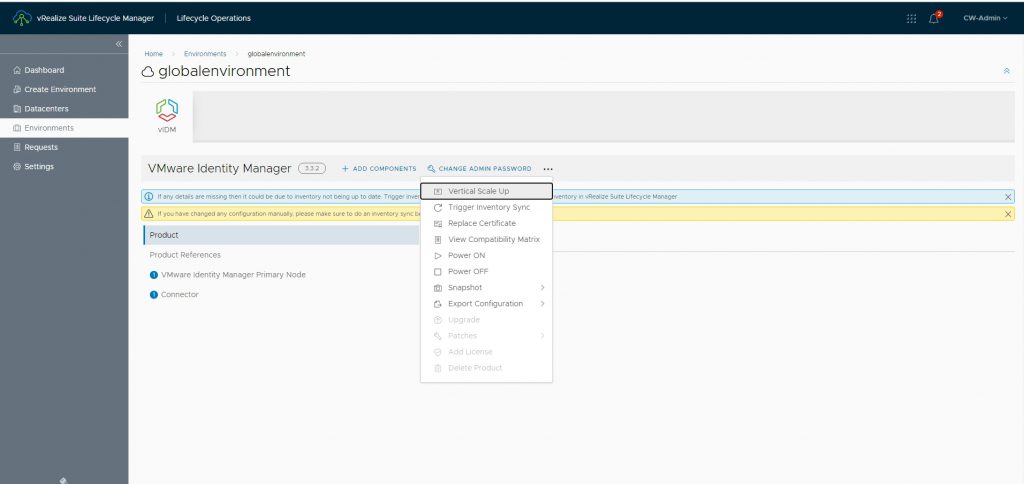
After installation, we can see different actions that vRLCM can do…
Next up is part (3) configuring vIDM before deploying the rest of vRealize Suite products
Written by,
Amr Abdelshafi

Solutions Architect – Cloud & Infrastructure